
Starting with Android Studio
SummaryWith the recent release of Android Studio (out of beta), it is time to switch Android application development from Eclipse IDE to Android Studio. I am trying it out first and the procedures are not as straight forward as I would expect. Therefore, in this blog, I will detail the installation procedures to avoid some pitfalls for whoever reading this post.
Install Android Studio- Goto developer.android.com
- Click
 to download the installer file. The file is about 900MB.
 - Run the downloaded exe file to install and follow instructions.
- The above should install Android studion and the required SDK.
Now run Android Studio from windows start menu. If you get the following prompt: 
then you need to install JDK8.0. Otherwise, skip this section.
- Goto JDK Download page.
- Select download jdk-8u25-windows-i586.exe (157MB).
- Run to install (default to C:\Program Files (x86)\Java\jdk1.8.0_25)
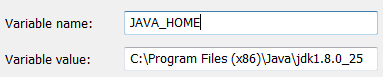
- Set JAVA_HOME environment variable using the following 2 steps:
- Click windows [Start], in the search box, type "env". In the search result, select "Edit the system environment variables".
- In the subsequent dialog, click
 [Add New] and set as:
Now restart Android Studio, you should see the following window:
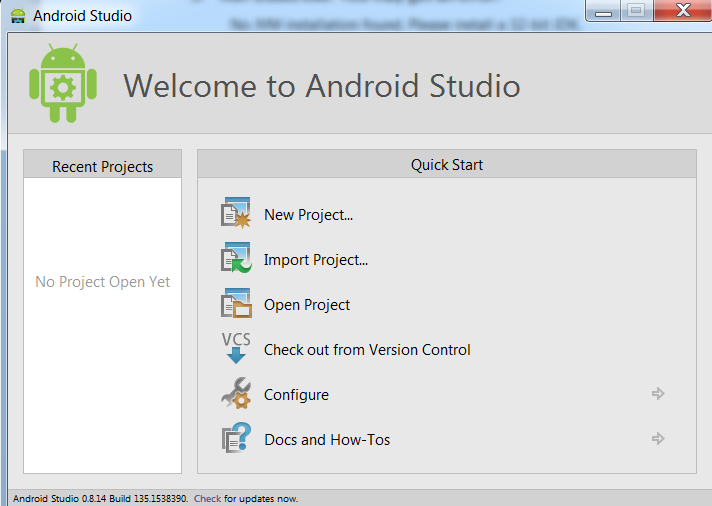
- Click on [Configure], and then [SDK Manager]. In SDK manager, install required SDK packages.
- If [SDK Manager] is grayed, then you need to instal Android SDK from Android SDK Download
- On the download page, click:

- Once installed, you may need to set the path to the SDK. In Android Studio, goto [Configure] -> [Project Defaults] -> [Project Sturcture] -> [Android SDK location] = path (e.g. c:\AndroidSDK\sdk).
- Now you are ready to create an Android Application project. Please see many of online resureces for this, or see my next blog post.